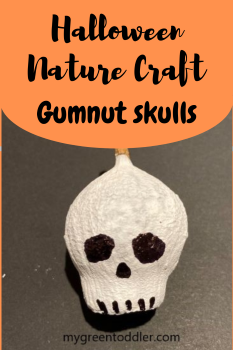
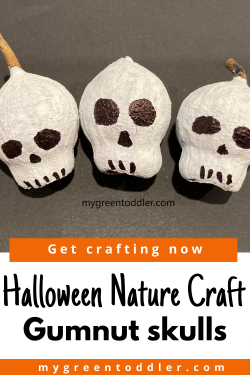
Halloween nature craft
We went to a party of the weekend that had “eco fairies” helping the kids to make flower crowns using native foliage. They also had some painted gumnuts to hang from them. This led to my daughter requesting that we paint gumnuts at home too.
I wasn’t quite sure where we’d find some or if it was even the season for them to be falling from the trees but we were in luck. The next day we found plenty on the ground at a local park.
Just as an aside, I have always called these nuts, honky nuts. Gumnuts is what I would use to describe smaller nuts. Upon researching it, I discovered that in Western Australia (where I live), the large nuts from Marri trees are called honky nuts, but everywhere else in Australia calls them gumnuts. So as not to confuse anyone, I will call them gumnuts in this post.
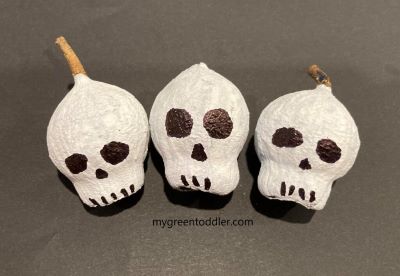
While my children were painting the gumnuts, I was thinking what other creative things I could do with them. My friend Amy had been sharing waste free Halloween crafts on her Facebook page Toddler Activities at Home so my mind went to Halloween themes. I realised that the gumnuts were a perfect shape for a skull.
Tips for finding the best gumnuts
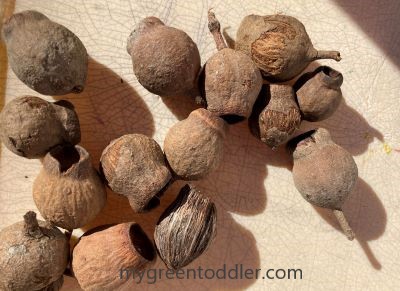
Not any old gumnut will do for this craft. They’ve got to be these large ones that I call honky nuts. They are just the right shape for a skull.
When you’ve found a tree with these nuts, try to choose ones that are smooth. They will be easiest to paint and look better.
Also opt for gumnuts that still have a stalk attached. This makes it less messy to paint as you have something to hold onto. It also makes them easier to hang up if that’s how you wish to use them.
Try to give the gumnuts a bang or tap outside to loosen all the seeds inside and allow them to fall out. Otherwise once you take them inside the house they can fall out everywhere.
Tips for painting and decorating
I recommend doing a light base coat of white paint before the final coat otherwise you will have a very uneven finish.
You can copy the skull markings here or Google a skull image if you prefer to go for a more detailed one. To get it looking right, I found I needed to do the eyes in the middle of the nut, not too far up.
To help with this, I found I got the positioning of the features right if I started with the teeth markings and then worked upwards to the nose and eyes.
These are so quick and easy to make, you can have lots of practice creating the perfect skull image.
Supplies
- Large gumnuts
- White paint (I love this washable paint. Washable if a must if toddlers are around!)
- Small paintbrush
- Black marker
Instructions
- Paint gumnut in a thin coat of white paint. Wait to dry.
- Paint gumnut in a thicker coat of white paint. Wait to dry.
- Use a black marker to add skull details ie. a lines for teeth, a nose cavity and eye sockets.
More sustainable crafts
- Simple Halloween Spider Craft
- DIY Easter baskets with recycled materials
- Upcycled eco friendly wrapping paper
What a fun craft! I love that it’s super simple and easy to do. My son would love this! Additionally, I also learned something new today about gumnuts. Before reading your post, I had no idea these existed now I do.
Maureen | http://www.littlemisscasual.com
Haha gumnuts are so common in Australia, it never occurred to me not everyone would have heard of them. Of course it makes sense, they are only from Australian trees and there’s no reason for people in other countries to be talking about gumnuts.
That’s such a great idea! I’m thinking this would be a great activity to do at my preschool. Thanks for sharing
This would be perfect for preschool! I’d love to see pics if you do it.